Surgeons/Restorative dentists:
Dr. Roberto Meli – Florence, Italy
This case shows the treatment of a 66-year-old male patient with a fractured implant in position #46 whose heavily abraded upper and lower dental elements have been treated with a Full mouth direct composite resin Bulk onlay technique. Six months after removal of the fractured implant and GBR, a 4.1×10 mm Classix Implant was placed in position #46 and a straight GH 1.5 mm ExaConnect Plus was immediately activated in the implant for transgingival healing. After three months, the healing screw was removed and a provisional crown was fabricated chairside on the ExaConnect. Two months later a conventional impression was taken on ExaConnect and a definitive composite resin crown was manufactured via CAD-CAM, fixed on Ti-Base abutment and screwed on ExaConnect.
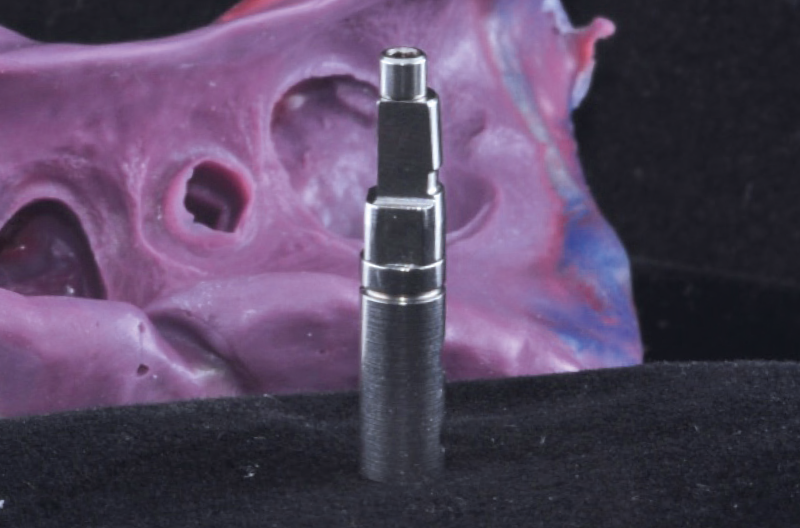
ExaConnect is a connector fixed through the Morse taper to the implant which guarantees a strong, stable and hermetically sealed connection at bone level. ExaConnect shifts the prosthetic connection from bone level to tissue level; once connected to the implant, it is no longer necessary to remove it: provisional crown, impression taking, fabrication and seating of definitive crown are done tissue level on the ExaConnect. Restoration on ExaConnect, which is available straight, 7.5°, 15° and 25° angled in three gingival heights GH 1.5, 3 and 5 mm, is done with Ti-Base, resulting in new possibilities for fully digital workflows: it is the first angled Ti-Base with different heights.

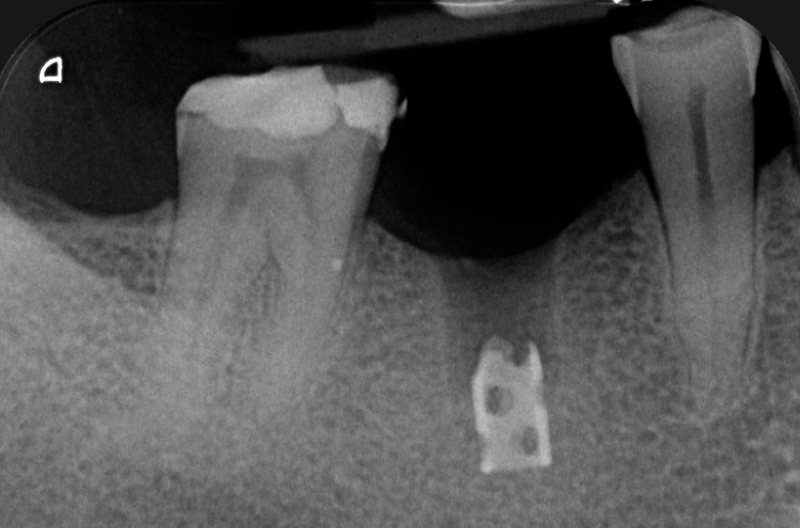
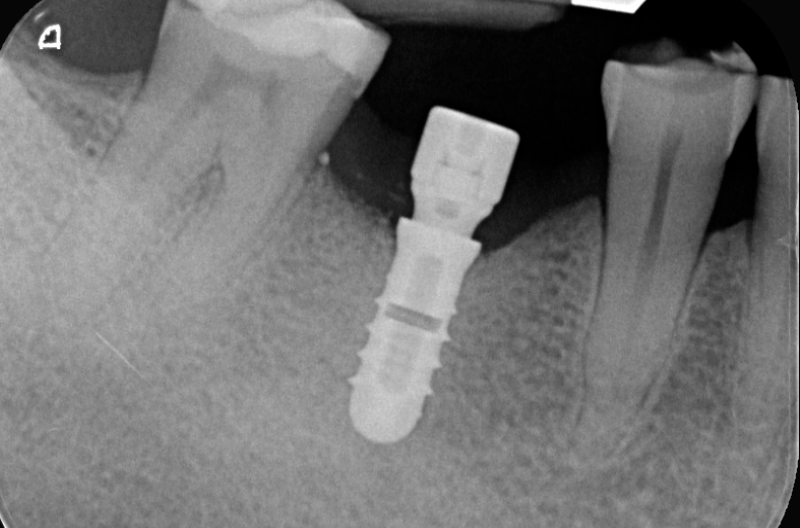
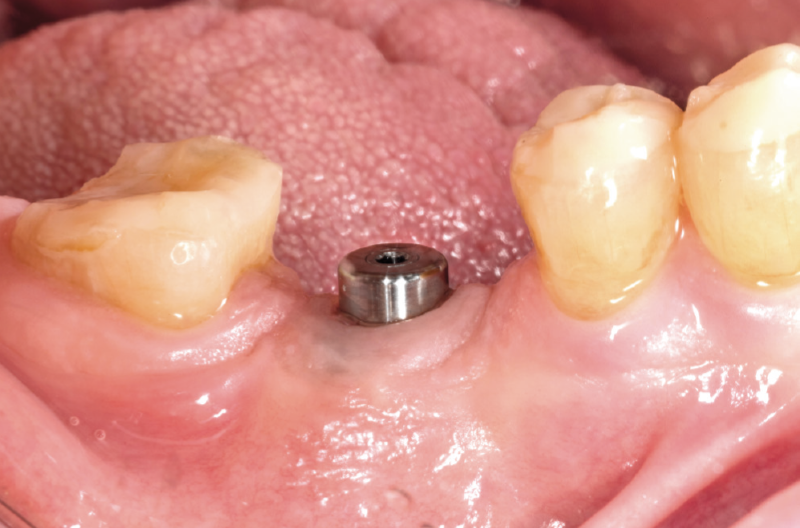
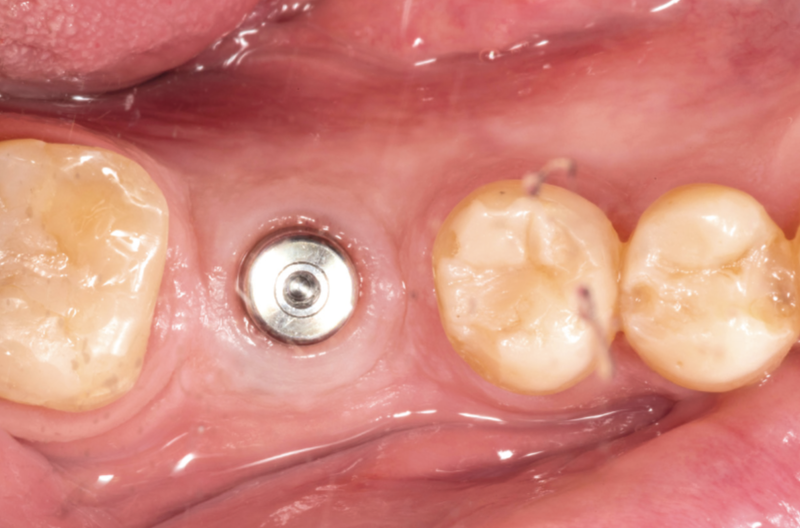
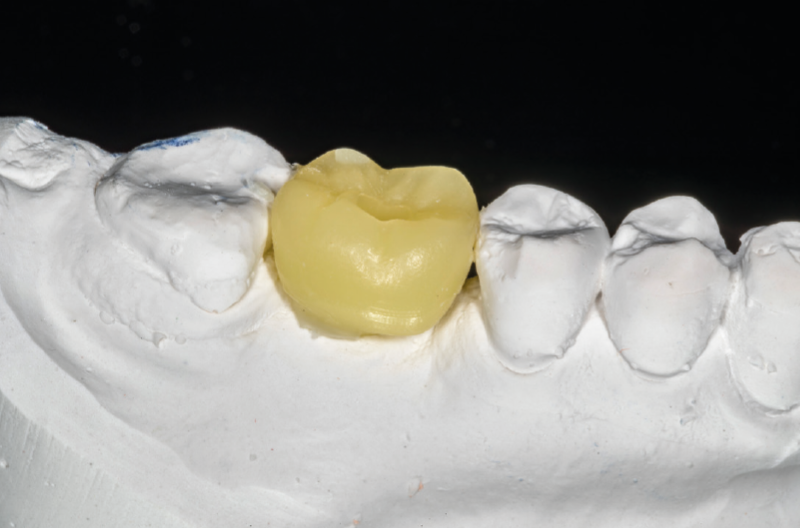
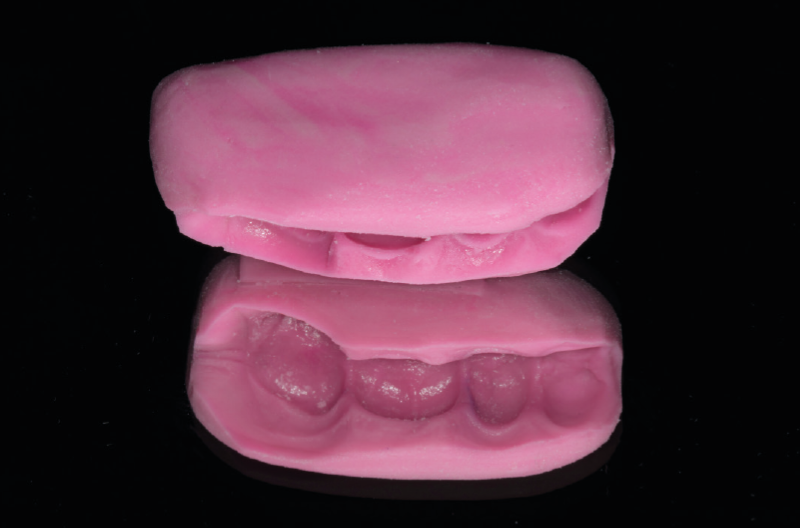
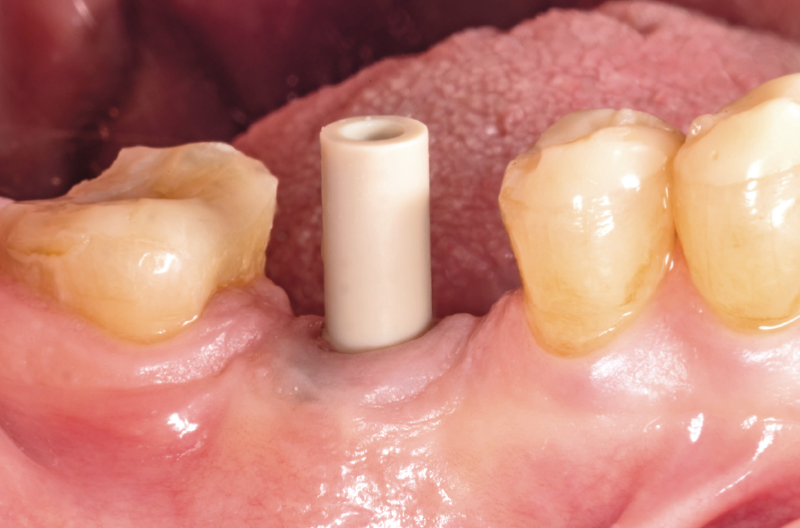
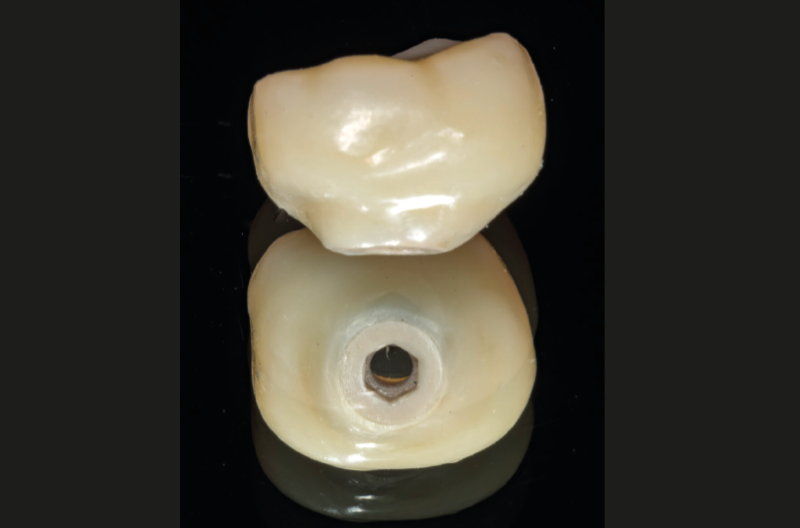
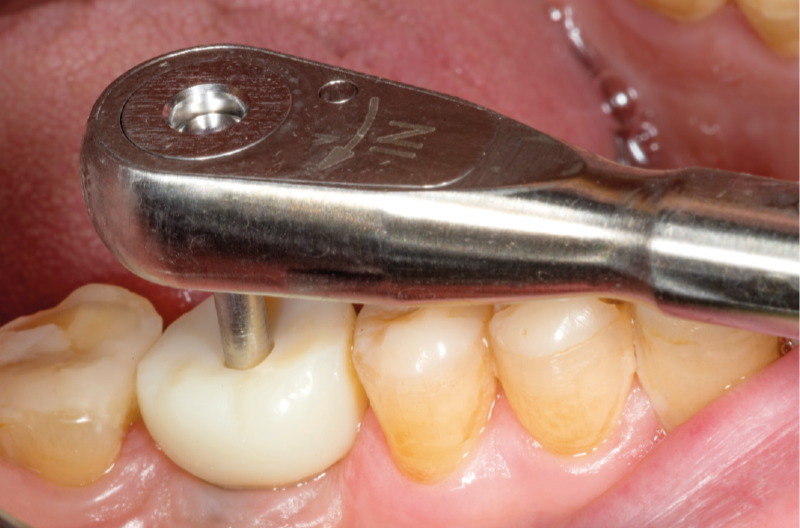
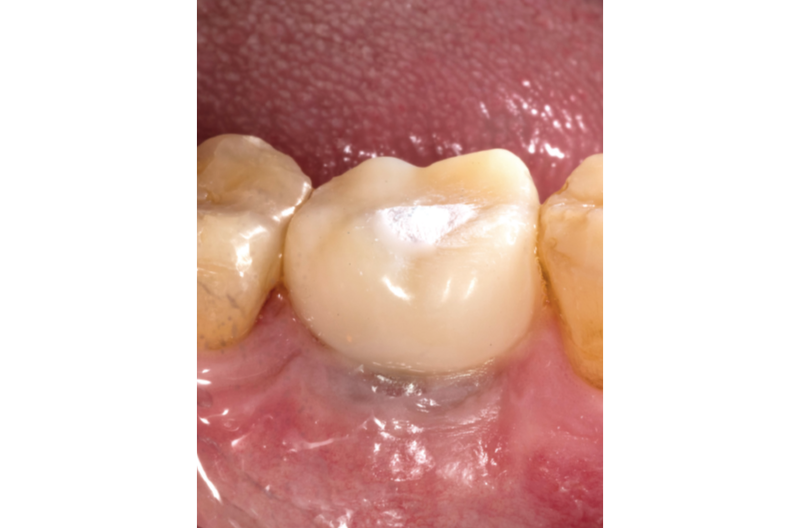
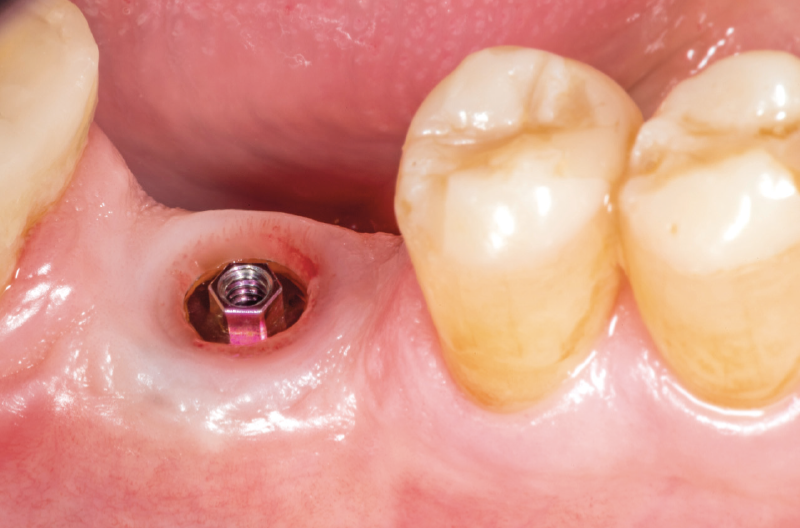
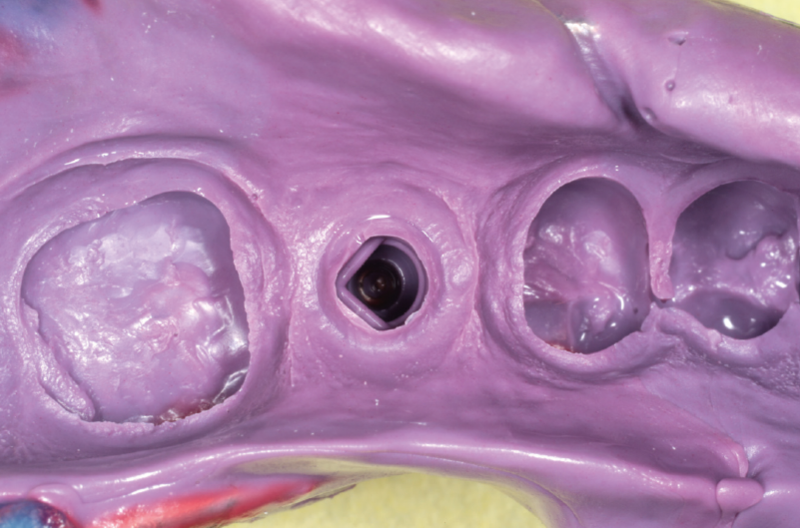
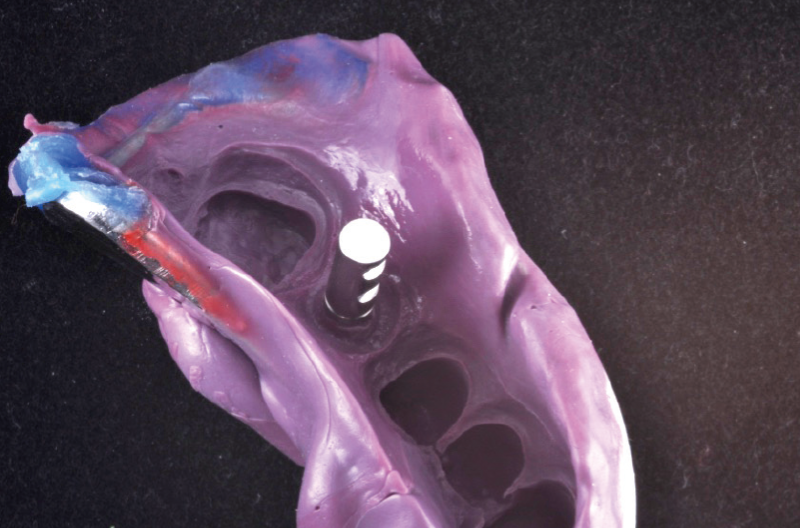
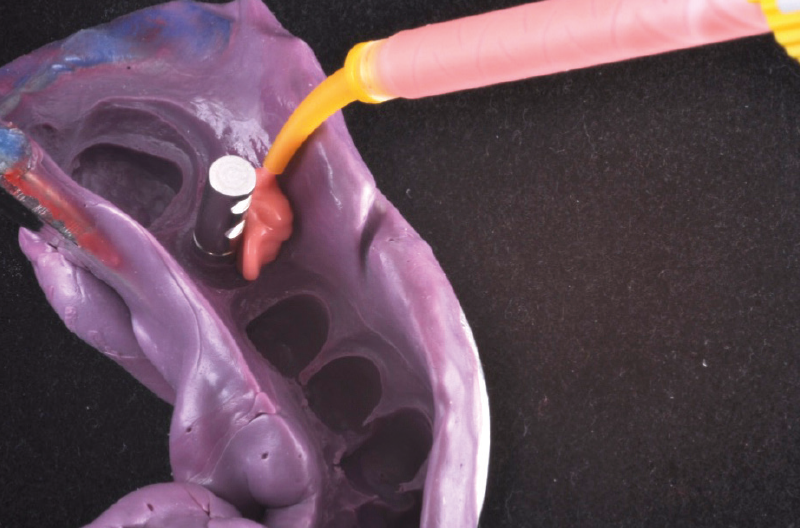
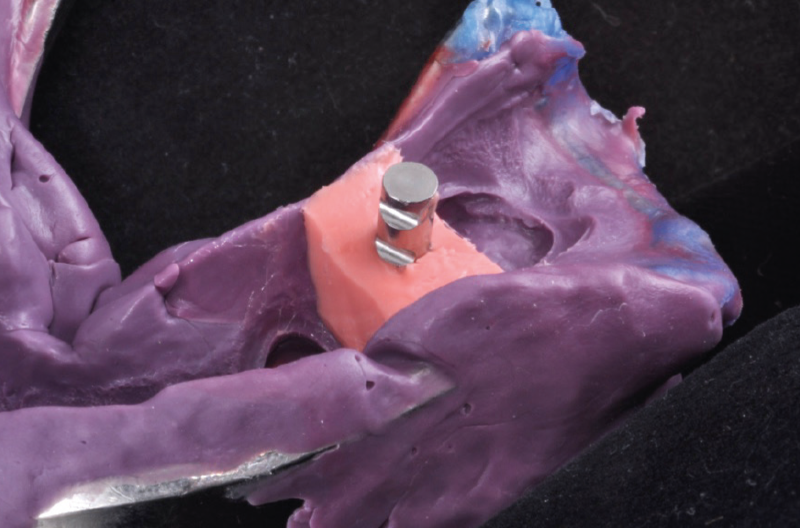
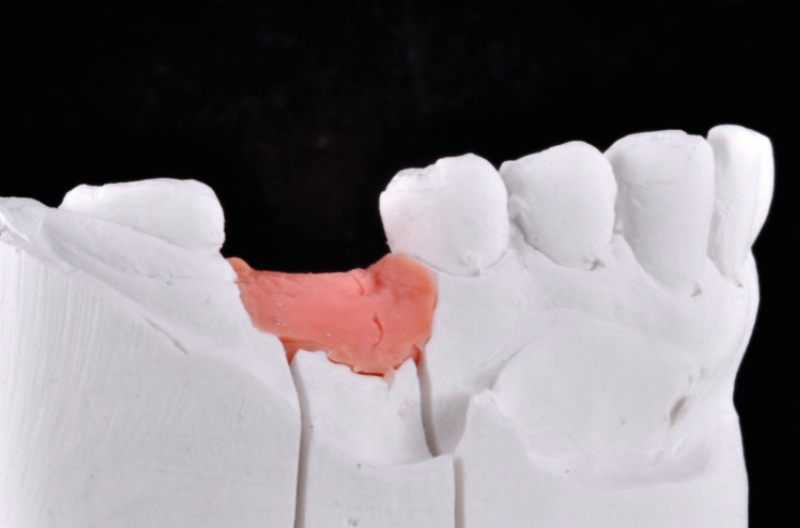
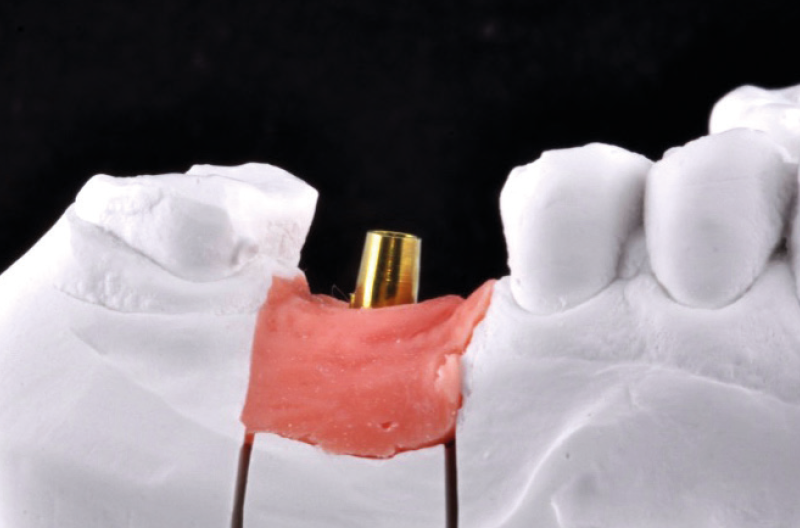
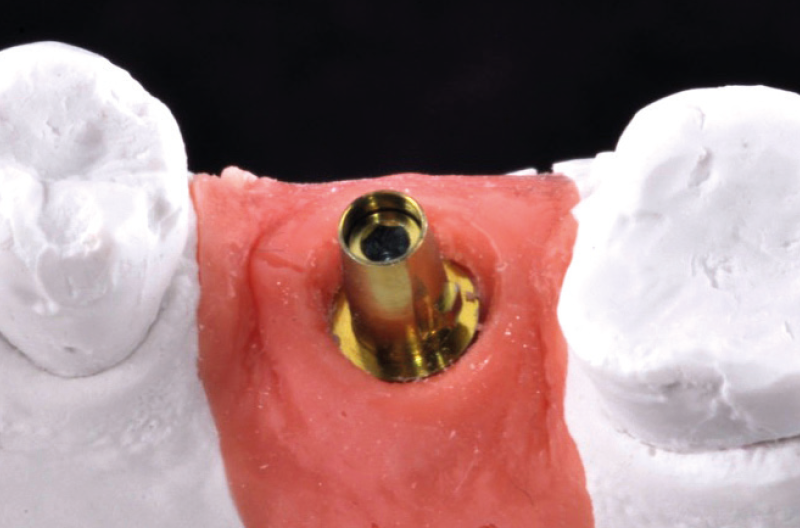
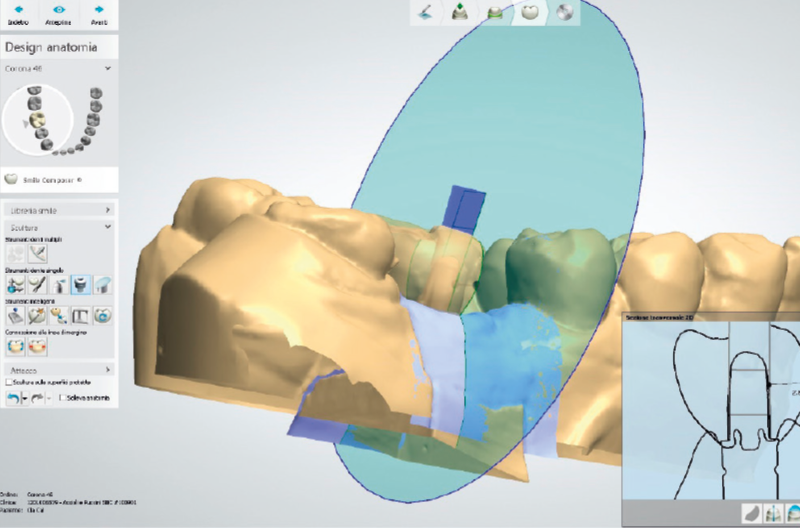
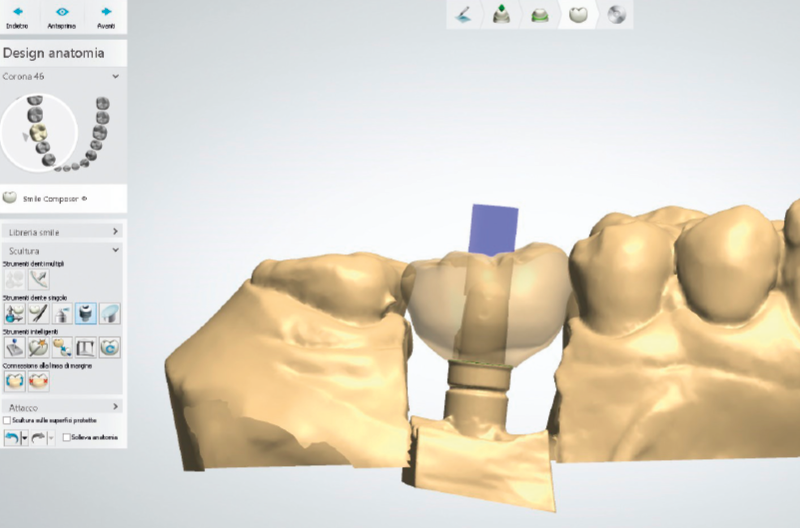
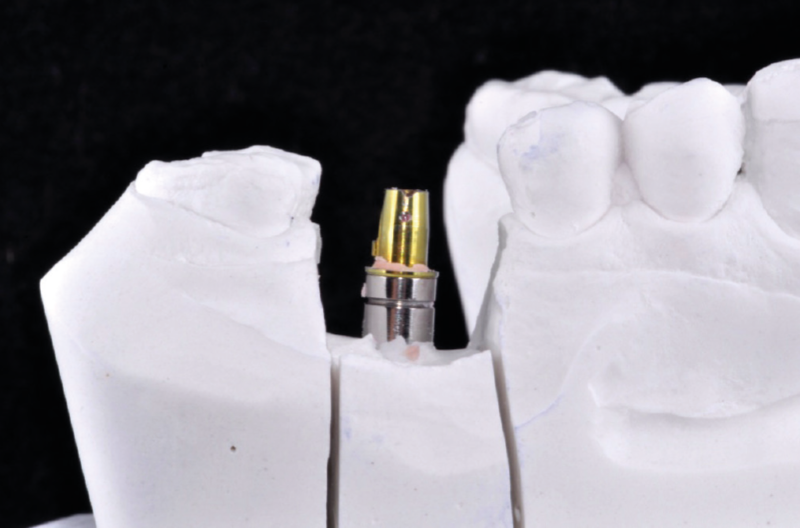
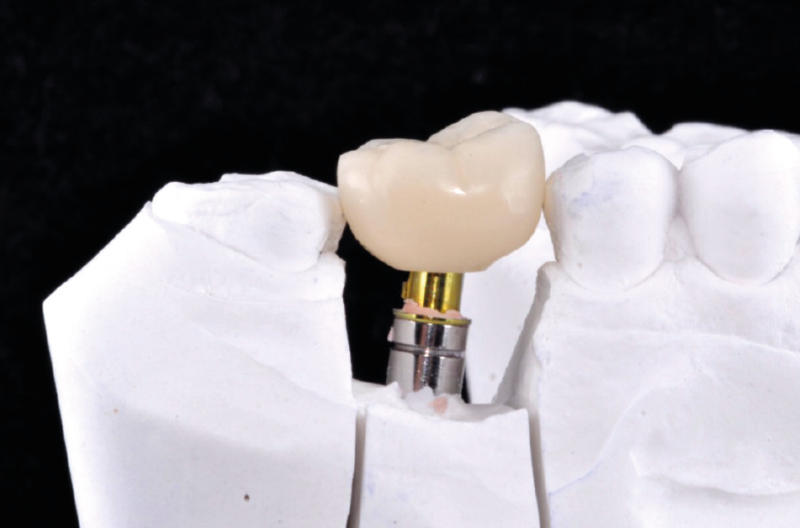
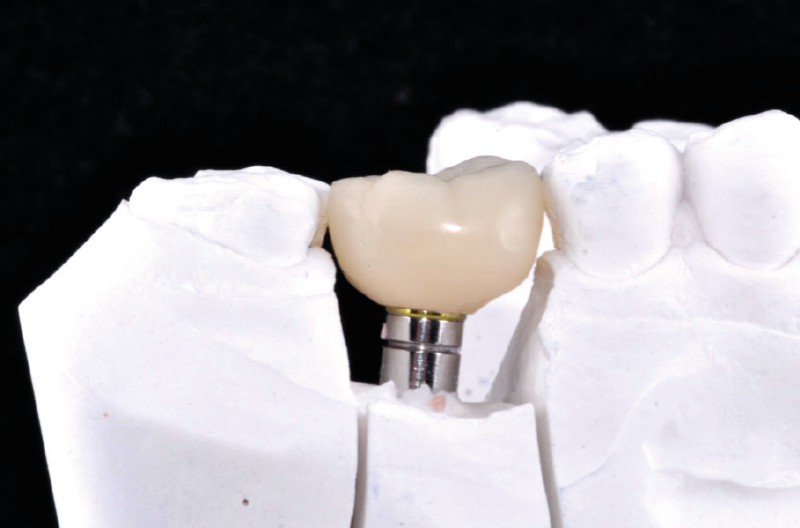
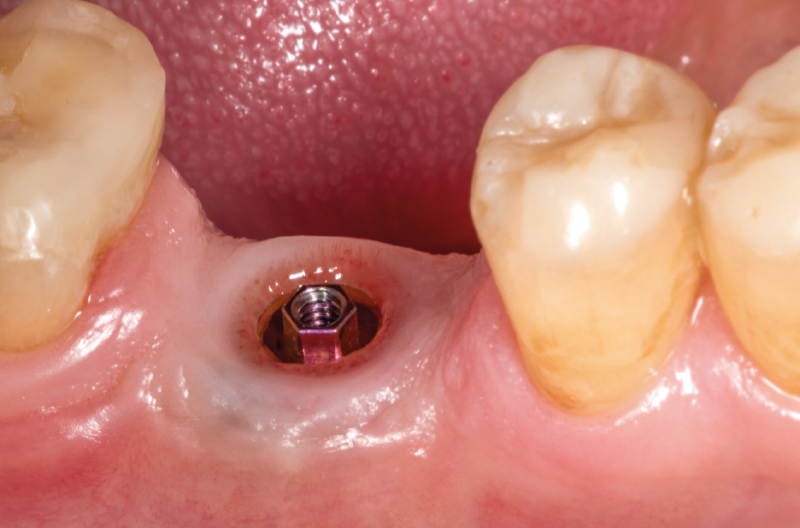
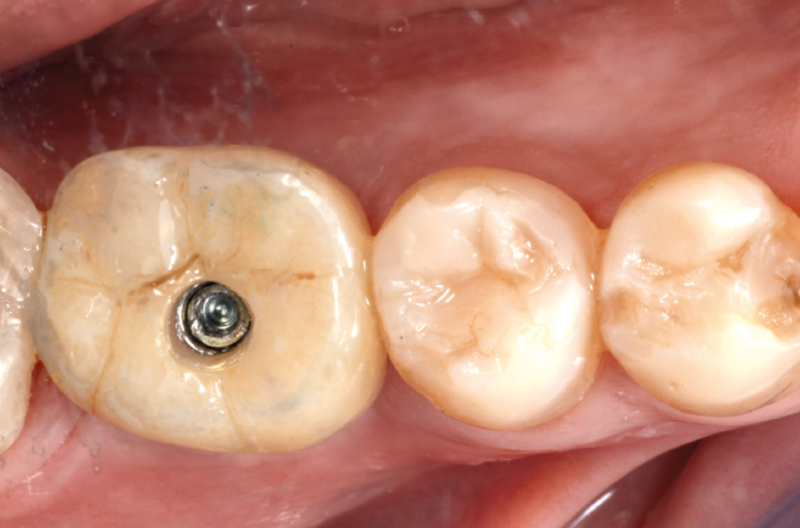
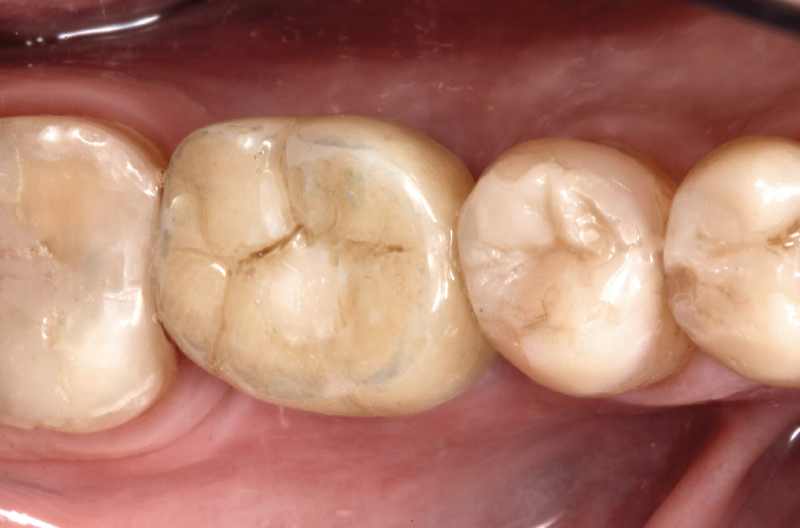
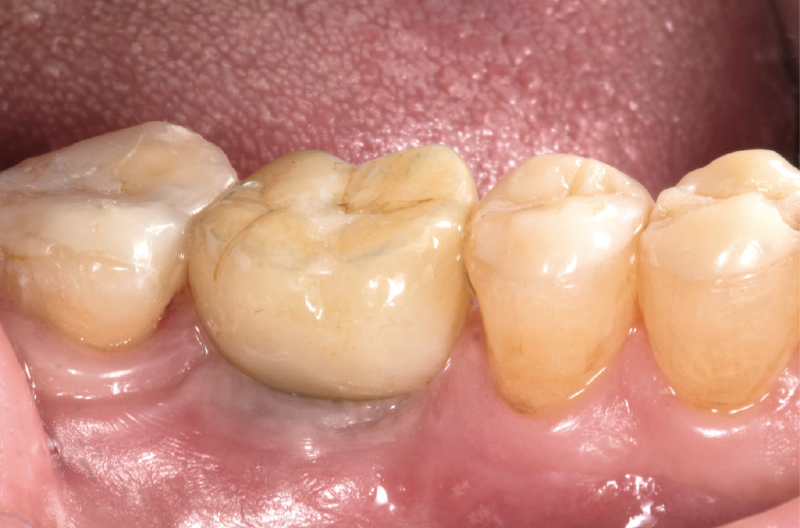
Pre-operative X-ray: fractured implant residue in position #46 Post-operative X-ray after GBR with resorbable synthetic bone graft and resorbable membrane X-ray three months after placement of a 4.1×10 mm Classix Implant and transgingival healing with a straight GH 1,5 mm ExaConnect Plus View of clinical situation three months after implant placement: soft tissues are healed around the healing screw View of clinical situation three months after implant placement: soft tissues are healed around the healing screw Wax-up carried out by the dental laboratory Silicone key of the wax-up Temporary abutment seated on ExaConnect: chairside preparation of the PEEK abutment Chairside fabrication of the provisional crown with the help of the silicone key Finished provisional crown Final tightening with the prosthetic torque wrench Screw access hole closed with provisional cement After two months: view of ExaConnect after removal of the provisional crown Impression taking on ExaConnect with close tray technique Repositionable transfer screwed on ExaConnect analog The special shape of the transfer allows for precise and unambiguous repositioning in the impression Transfer coupled with the ExaConnect analog repositioned in the impression Preparation of the dental cast Preparation of the dental cast Preparation of the dental cast Ti-Base abutment placed on the ExaConnect analog. For scanning, laboratory procedures and try-in we recommend the use of the Lab and Scan Ti-Base which can be easily distinguished by its light grey colour. When this clinical case was carried out, it was not yet available. Ti-Base abutment placed on the ExaConnect analog. For scanning, laboratory procedures and try-in we recommend the use of the Lab and Scan Ti-Base which can be easily distinguished by its light grey colour. When this clinical case was carried out, it was not yet available. CAD project of the screw-retained crown CAD project of the screw-retained crown CAD design of the crown in occlusion Crown bonding on the Ti-Base abutment Crown bonding on the Ti-Base abutment Crown bonding on the Ti-Base abutment View of ExaConnect after removal of the provisional crown Final crown screwed on the ExaConnect Occlusal view of the final crown after closing the screw access hole with Gutta-percha and composite resin Facial view of the final crown


Laboratory:
Accioli & Puccini – Florence, Italy